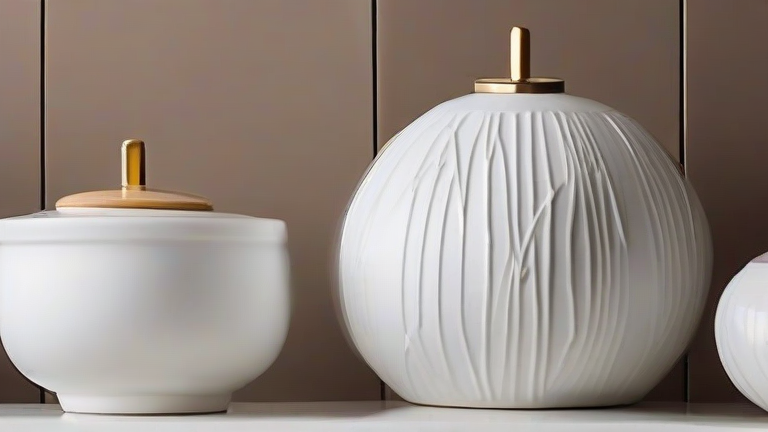
TL;DR: You can transform plain porcelain blanks into stunning home decor with just a few supplies and techniques. This tutorial covers five easy DIY projects—from hand-painted vases to textured trinket trays—that require no kiln or professional experience.
Porcelain Home Decor Tutorial: 5 Easy DIY Projects
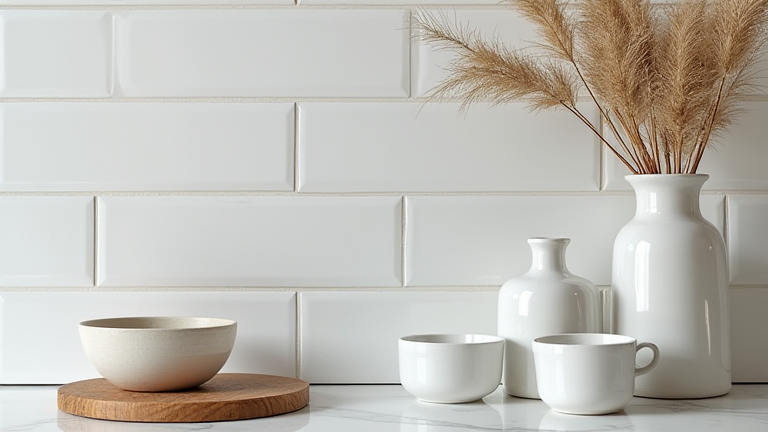
Porcelain is a beloved material for its delicate, translucent quality and timeless elegance. While it may seem intimidating, working with pre-fired (bisque) porcelain or ready-made blanks is surprisingly beginner-friendly. All you need are specialized paints, a few tools, and patience. Below are five projects that elevate your living space without breaking the bank or your confidence.
If you want to dig deeper, check out our guide on Timeless Porcelain Home Decor: Elevate Your Lifestyle.
Project 1: Hand-Painted Porcelain Vase
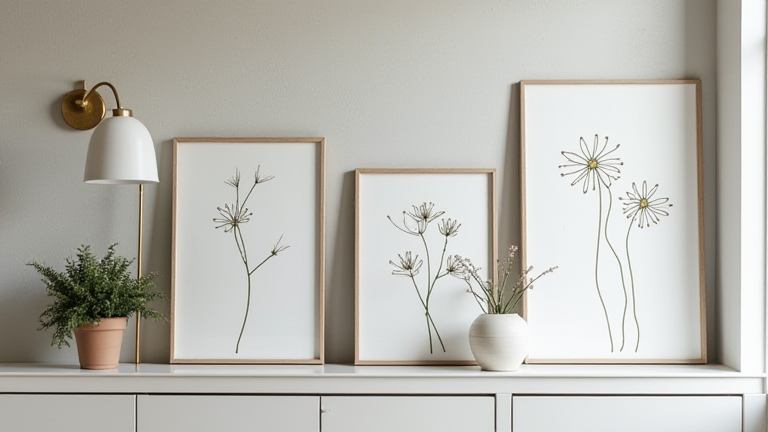
Start with a plain white porcelain vase (glazed or bisque). Clean it with rubbing alcohol to remove oils. Use a soft pencil to sketch a simple botanical line drawing—think stems and leaves. Then, apply porcelain paint (like Pebeo or FolkArt) using a fine liner brush. For a watercolor effect, dip your brush in a little blending medium before painting. Let each coat dry for 20 minutes, then bake the vase in a home oven at 300°F (150°C) for 35 minutes to cure the paint. Tip: Always test a small, hidden spot first to ensure the glaze accepts the paint.
Project 2: Gold-Flecked Porcelain Coasters
Buy plain square porcelain tiles from a hardware store (they are technically porcelain). Use painter’s tape to mask off a diagonal or geometric pattern. Apply a thin layer of liquid gold leaf adhesive to the exposed area, wait 15 minutes until tacky, then press on gold leaf sheets. Gently brush away excess with a soft makeup brush. Seal with a clear gloss spray designed for ceramic. Tip: For a more subtle look, use a gold paint pen instead of leaf—no adhesive required.
Project 3: Textured Trinket Dish
Take a shallow porcelain bowl or a small plate. Mix porcelain slip (liquid clay) with a few drops of water until it’s the consistency of heavy cream. Using a palette knife, swirl the slip onto the rim of the dish to create wavy, organic edges. Alternatively, press lace or leaves into the wet slip for a delicate imprint. Let dry for 24 hours, then paint with a matte underglaze. Fire in a kiln if you have access, or use air-dry porcelain clay and skip the kiln entirely. Tip: For a no-fire version, use self-hardening porcelain clay and shape it over a bowl form.
Project 4: Porcelain Knob Upgrades
Give plain cabinet or dresser knobs a facelift. Remove them from the furniture. Dip the porcelain knob into a cup of white or pastel enamel paint, letting excess drip off. While wet, sprinkle with fine glitter or tiny gold flakes. Let dry upside down (stick a toothpick into the screw hole). Bake at 250°F for 30 minutes to set. Reattach after cooling. Tip: Use a contrasting color for the stem—mask it with tape before dipping.
Project 5: Porcelain Candle Holders with Marble Effect
Use small porcelain votive holders. Fill a shallow tray with water, then add 3 drops of white and 2 drops of dark gray nail polish. Swirl gently with a toothpick. Dip the holder into the water, rolling it to pick up the swirls. Lift out and let dry—the pattern will look like marble. Finish with a clear topcoat. Tip: Work quickly, as nail polish dries fast; do one holder at a time.
FAQ
Q: Can I use regular acrylic paint on porcelain?
A: No—regular acrylics will peel off. Use porcelain-specific paints or enamels, then heat-set them in an oven. For