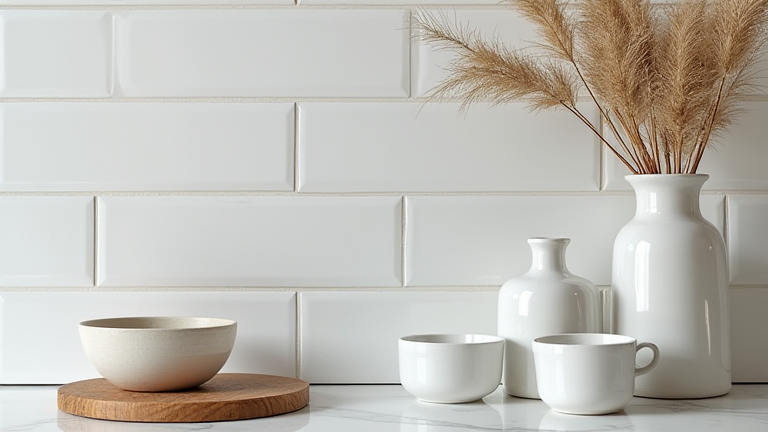
TL;DR: You can craft elegant porcelain home decor at home using air-dry porcelain clay, basic sculpting tools, and a simple baking or curing process. This tutorial covers shaping, texturing, and sealing your pieces to create professional-looking vases, trinket dishes, and wall art without a kiln.
DIY Porcelain Home Decor: A Beginner’s Step-by-Step Tutorial
Porcelain decor adds a refined, minimalist touch to any room, but you don’t need a pottery studio to achieve that look. With air-dry porcelain clay (available at craft stores), you can mold beautiful, durable pieces. Here’s how to create your own.
If you want to dig deeper, check out our guide on Porcelain Home Decor Tutorial: Easy DIY Ideas for Elegant Sp.
Step 1: Gather Your Supplies
You’ll need air-dry porcelain clay (white or tinted), a rolling pin, a non-stick surface (like a silicone mat), a sharp craft knife, a small bowl of water, fine-grit sandpaper, and a sealant (matte or gloss). Optional: lace or textured fabric for imprinting, and acrylic paints for detailing.
Step 2: Condition and Roll the Clay
Knead the clay in your hands for 2–3 minutes until it’s soft and pliable. Roll it out to an even thickness of about ¼ inch. If it sticks, lightly dust your rolling pin with cornstarch. For a bowl or dish, place the rolled clay over an inverted small bowl to shape the curve; for a pendant or wall art, leave it flat.
Step 3: Cut and Shape Your Design
Use the craft knife to cut out your desired shape—a circle for a trinket dish, a leaf for a wall hanging, or a rectangle for a coaster. To create a vase, roll a slab into a cylinder and pinch the seams together with wet fingers. Smooth all edges with a damp fingertip to remove any cracks.
Step 4: Add Texture and Details
Before the clay dries, press lace, leaves, or a textured stamp into the surface for an elegant relief pattern. For a modern look, use a toothpick to draw fine lines or dots. If you’re making a hanging ornament, poke a hole with a straw before drying.
Step 5: Dry and Sand
Place your pieces on a flat, non-stick surface and let them air-dry for 24–48 hours, flipping once halfway. Once fully hard (check for coolness to the touch), sand any rough edges with fine-grit sandpaper. Wipe off dust with a dry cloth.
Step 6: Seal and Finish
Apply a thin, even coat of porcelain sealant with a soft brush. Let it dry completely, then apply a second coat. This makes the surface water-resistant and gives it a professional sheen. For colored pieces, paint them with acrylics before sealing, then seal after the paint dries.
Pro Tips: Work in small batches to prevent drying. Use a spray bottle to mist the clay if it cracks. For a glossy, ceramic-like finish, use a high-gloss resin sealer instead of matte.
FAQ
Q: Can I use real porcelain clay without a kiln?
A: No, traditional porcelain clay requires firing at over 2200°F. For home use, choose air-dry porcelain clay, which mimics the look and texture but cures at room temperature.
Q: How long does air-dry porcelain decor actually last?
A: With proper sealing, your pieces can last for years. They are not dishwasher-safe or microwave-safe, but they hold up well for display, dry flowers, or jewelry storage if kept away from excessive moisture.
Q: Can I paint my finished porcelain decor?
A: Yes, use acrylic paints specifically for ceramics or multi-surface paint. Apply a primer first for best adhesion, then seal with a clear varnish
Leave a Reply