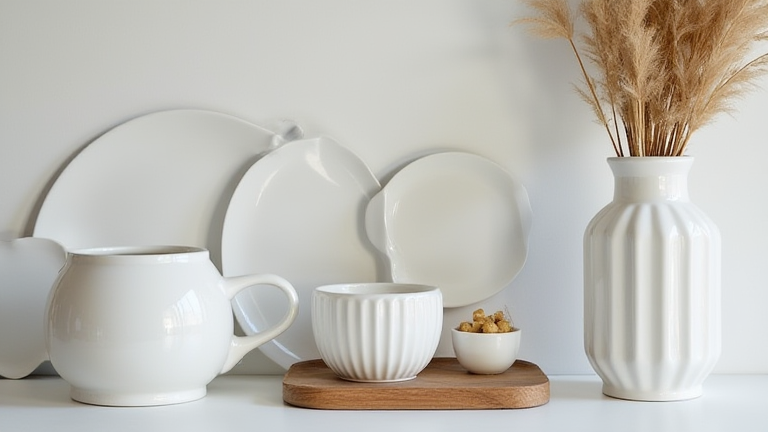
**12 Porcelain Decor DIYs: Easy Tutorials to Elevate Your Home**
TL;DR: Transform plain porcelain items into stunning home accents by mastering decoupage, painting, and glazing techniques. These twelve simple projects allow you to customize vases, plates, and figurines to match your unique interior design style.
Porcelain is a versatile medium that serves as a perfect canvas for creative expression. Whether you prefer a rustic farmhouse look or a sleek modern aesthetic, these DIY projects offer endless possibilities. Start by ensuring your workspace is clean and well-lit. Always wash your porcelain items thoroughly before beginning any project to remove dust or oils that might interfere with adhesion. For beginners, start with simple painting projects using specialized porcelain paint. These paints bond effectively with the glossy surface and are often dishwasher safe, making them practical for daily use. Apply thin, even coats and allow ample drying time between layers to prevent cracking or peeling.
If you want to dig deeper, check out our guide on Elevate Your Home: Timeless Porcelain Decor Trends.
Decoupage and Paper Techniques
One of the most popular methods for decorating porcelain is decoupage. This technique involves adhering paper cutouts to the surface and sealing them with a clear varnish. Choose high-quality, thin paper for the best results. Cut out your desired designs, such as floral patterns or vintage motifs. Apply a thin layer of mod podge or a similar adhesive to the porcelain surface. Carefully place the paper cutout, smoothing out any air bubbles with a soft cloth or your fingers. Once the adhesive dries, apply multiple coats of clear sealant to protect the design. This method is ideal for decorating plates, coasters, and small vases, adding a personal touch to functional items.
Painting and Stamping
For those who enjoy drawing, porcelain is an excellent surface for artistic expression. Use alcohol-based markers or enamel paints to create intricate designs. Alcohol markers are particularly useful because they do not require baking to set, although baking can increase durability. Start with a light sketch using a washable pencil. Once you are satisfied with the design, trace over it with your chosen paint. For a uniform look, consider using rubber stamps. Dip the stamp in ink and press it firmly onto the porcelain. This technique is perfect for creating repeating patterns on mugs or serving platters. Remember to work in a ventilated area and wear gloves to avoid staining your skin.
Glazing and Firing
If you have access to a kiln, you can take your porcelain DIYs to the next level with glazing. Apply a thin, even layer of glaze over the painted design. The glaze will melt during the firing process, creating a smooth, glass-like finish. Be cautious when applying glaze near the edges, as pooling can cause defects. Follow the manufacturer’s instructions for firing temperatures and times. This method is best for creating unique, high-end pieces that are both beautiful and durable. It requires more equipment and knowledge, but the results are worth the effort.
Finishing Touches
After completing your porcelain projects, allow them to dry completely. If you used water-based paints, let them cure for at least 72 hours before washing. For dishwasher safety, check the specific product guidelines. Some paints require a curing period in an oven at a low temperature. Display your finished pieces proudly in your home. They make excellent gifts for friends and family, showcasing your creativity and skill. By following these step-by-step instructions, you can elevate your home decor with personalized porcelain pieces that reflect your style and personality.
FAQ
Q: Can I use regular acrylic paint on porcelain?
A: It is not recommended for functional items like mugs or plates, as acrylic paint does not bond well and will likely peel off. Use specialized porcelain paint or decoupage mediums for better durability.
Q: How do I remove mistakes before the paint dries?
A: If you are using water-based porcelain paint, you can gently wipe it off with a damp cloth before it dries. For alcohol-based markers, use a cotton swab dipped in rubbing alcohol to lift the
Leave a Reply