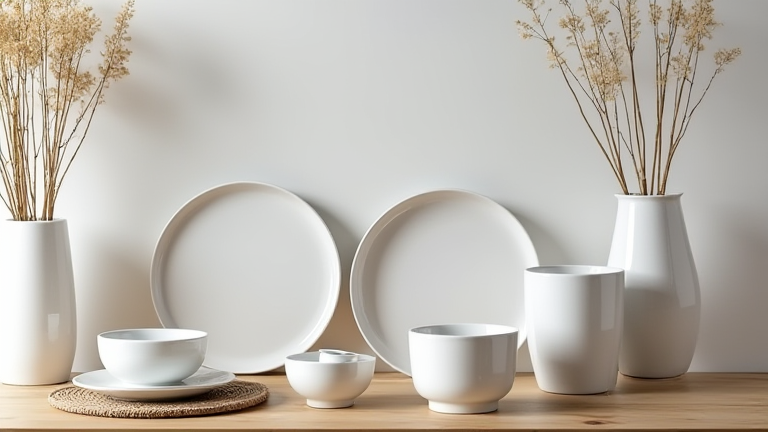
TL;DR: You can transform any room with porcelain by using inexpensive blanks—like vases, tiles, and plates—and applying gold leaf, decoupage, or hand-painted underglaze. This guide gives you three foolproof DIY techniques that require no kiln, using air-dry porcelain paint and adhesive metal leaf for a high-end, museum-quality look.
What You’ll Need Before You Start
Gather your supplies: unglazed porcelain blanks (cups, trays, or small vases work best), 99% isopropyl alcohol, fine-grit sandpaper (400 grit), porcelain paint or underglaze pens, a soft sponge brush, and a roll of adhesive gold or copper leaf (available at craft stores). Also pick up a clear, food-safe porcelain sealer (like a two-part epoxy resin or spray-on ceramic glaze). Work in a well-ventilated area, and lay down newspaper or a silicone mat.
If you want to dig deeper, check out our guide on Why Cold Brew Coffee Is Beating Espresso in Sales.
Step 1: Clean and Prep the Surface
Wipe every porcelain piece with isopropyl alcohol to remove fingerprints and factory residue. If your blank has a glossy finish, lightly sand the entire surface with 400-grit sandpaper—this creates “tooth” for paint and adhesive to grip. Rinse with water and let dry completely for 30 minutes. Do not skip this step; a greasy surface will cause your design to peel later.
Step 2: Design with Porcelain Pens (The Simplest Method)
Use an underglaze pen (not a permanent marker) to draw delicate linework—think botanical stems, geometric bands, or a single gold rim. Hold the pen like a pencil and apply even pressure. For a symmetrical look, wrap a strip of washi tape around the vase as a guide line. Let the ink dry for 15 minutes, then bake the piece in a home oven at 300°F (150°C) for 30 minutes to cure the pigment. *Tip: If you make a mistake, wipe off wet ink with a damp cotton swab immediately—do not bake over it.*
Step 3: Add Gold Leaf for Instant Luxury
Paint a thin layer of adhesive size (the glue supplied with the leaf) onto a narrow band of your porcelain using a sponge brush. Wait 10–15 minutes until the size becomes tacky but not wet. Gently press a sheet of gold leaf over the area, then use a soft brush to buff away loose flakes. Seal the leaf with a clear spray varnish—this prevents tarnishing. *Tip: Work in small sections (2 inches at a time) because the size dries fast.*
Step 4: Decoupage with Porcelain Paper
Cut out motifs from thin rice paper or napkin layers (the top printed ply only). Brush a thin coat of decoupage medium onto the porcelain, lay the paper down, then smooth out bubbles with your finger. Apply two more coats of medium, letting each dry for 20 minutes. Finish with a food-safe sealant if the piece will hold food—otherwise, a standard acrylic sealer works. *Tip: Use tweezers for tiny shapes to avoid tearing.*
Step 5: Cure and Seal for Durability
After any painting or decoupage method, allow the piece to cure for 24 hours. Then apply two thin coats of a clear, water-based ceramic sealer (spray or brush-on). For items that will touch food, use a non-toxic, dishwasher-safe resin. Let the final coat cure for 72 hours before handling. *Tip: Never put hand-painted porcelain in the dishwasher unless the paint label explicitly says “dishwasher safe.”*
Style Placement Tips
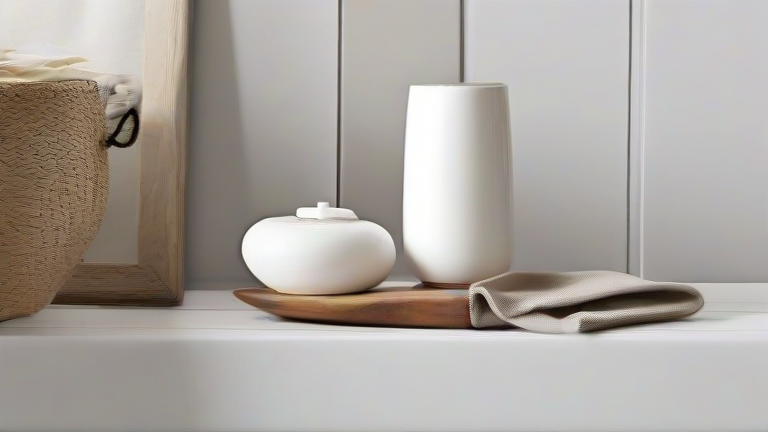
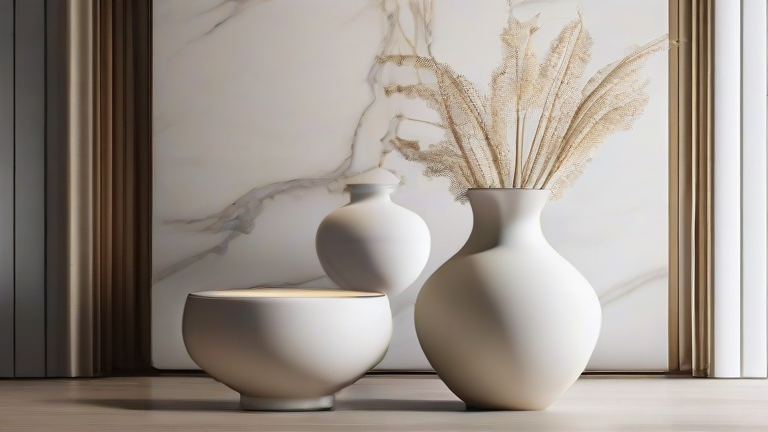
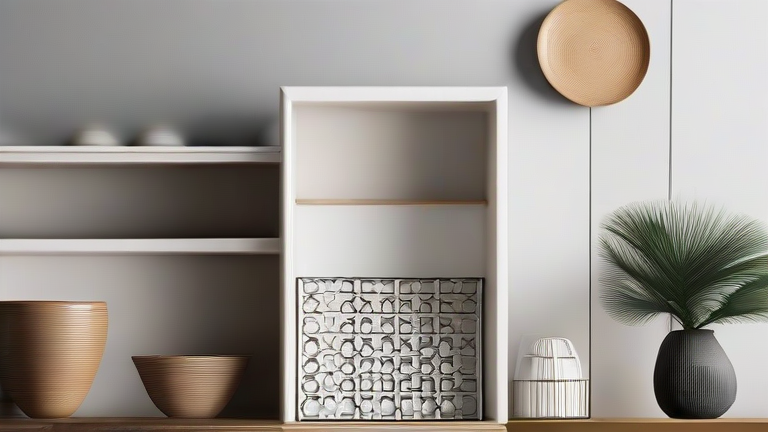
Group three porcelain vases of varying heights on a mantel, using the same gold-leaf band to tie them together. Place a decoupaged tray on a coffee table with a stack of books—this adds texture without clutter. For a bathroom, use a painted porcelain soap dish and toothbrush holder as a set. The key