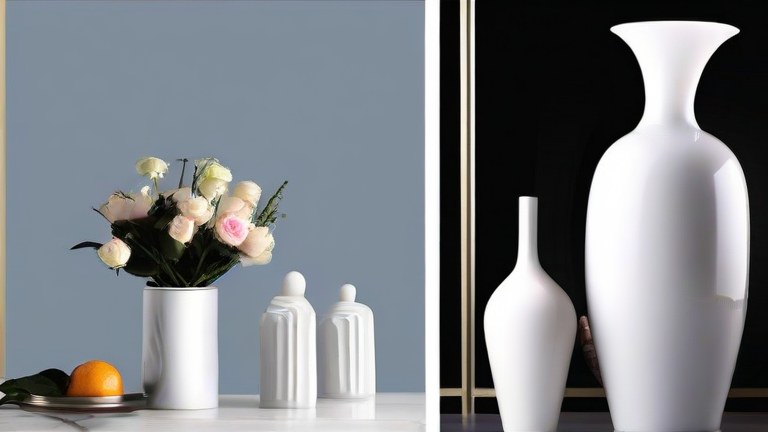
TL;DR: Create elegant porcelain home decor by applying ceramic glazes to standard bisque vases or repurposing existing pieces with decorative accents. This guide provides step-by-step instructions for achieving a professional finish on DIY vases and unique decor items.
Preparation and Materials
Before beginning your porcelain home decor project, gather the necessary materials. You will need high-quality bisqueware vases or existing porcelain items, ceramic glazes in your chosen colors, clear gloss or matte topcoats, and appropriate brushes. Ensure your workspace is well-ventilated and covered with drop cloths. It is crucial to wear a respirator mask when handling dry glaze powders to avoid inhaling dust. If you are working with existing porcelain, clean the surface thoroughly with isopropyl alcohol to remove any oils or dust that could interfere with adhesion. This preparation step is vital for a smooth, professional-looking result. Check that all your porcelain pieces are free from cracks or chips, as these can expand during firing if you plan to use a kiln, or cause structural issues in mixed-media projects.
If you want to dig deeper, check out our guide on Top 10 AI Productivity Tools Changing How Teams Work.
Step-by-Step Application
Start by deciding on your design aesthetic. For a classic look, use a single color glaze. For a modern touch, try layering translucent glazes to create depth. Dip the bottom of your brush into the glaze, ensuring an even coat without pooling. Apply the glaze to the exterior of the vase, working from the top down to prevent drips. For intricate patterns, use a stencil or a fine-tipped brush. Allow the first layer to dry completely if you are applying multiple colors. When using a kiln, follow the specific firing schedule provided by your glaze manufacturer. If you are not using a kiln, use a heat-resistant ceramic sealant designed for porcelain. Apply the sealant in thin, even layers, allowing each coat to dry as directed. This method allows you to create durable, beautiful porcelain decor without specialized equipment. Ensure that the interior of the vase is also sealed if you plan to use it for water, using a food-safe, waterproof sealant specifically rated for ceramic surfaces. This prevents water damage and maintains the integrity of your porcelain home decor piece.
Finishing Touches and Care
Once your glaze or sealant is fully cured, inspect your work for any imperfections. Lightly sand any rough spots with fine-grit sandpaper if necessary. To enhance the visual appeal, consider adding metallic accents such as gold or silver leaf to the rim or base of the vase. Use a soft brush to apply adhesive sparingly, then press the leaf gently onto the surface. Allow the adhesive to dry before sealing these areas. For ongoing care, dust your porcelain home decor items with a soft, dry cloth. Avoid using abrasive cleaners or harsh chemicals that could strip the glaze or sealant. If you notice any chips or scratches, touch them up with matching paint or sealant to maintain the piece’s appearance. Proper care ensures that your DIY porcelain vases and decor ideas remain a stunning focal point in your home for years to come. Remember that patience is key during the drying and curing processes, as rushing can lead to bubbles or uneven finishes. Enjoy the creative process of transforming simple porcelain into personalized home decor.
FAQ
Q: Can I use acrylic paint on porcelain?
A: Yes, but you must use a high-heat ceramic medium or sealant to ensure the paint bonds properly and remains durable after washing.
Q: How do I remove bubbles from my glaze?
A: Use a toothpick or a fine needle to gently pop bubbles while the glaze is still wet, or ensure your application layer is not too thick to prevent bubble formation.
Q: Is porcelain decor safe for holding fresh flowers?
A: Yes, provided you use a food-safe, waterproof sealant on the interior and ensure all glazes are non-toxic and properly cured before use.
Leave a Reply