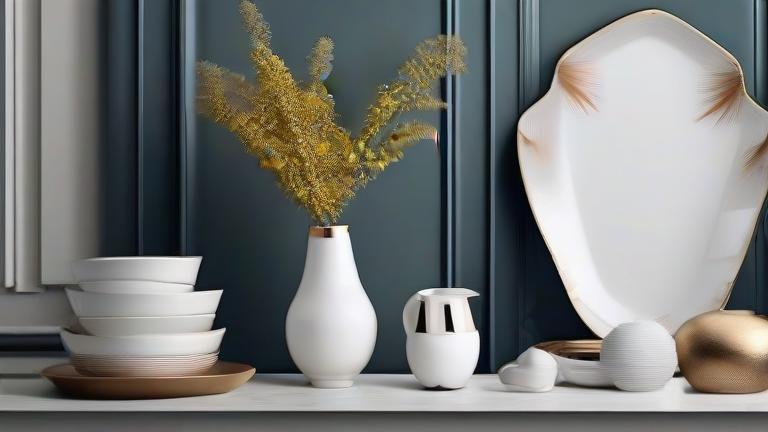
Porcelain Home Decor Tutorial: Create Stunning Pieces Step-by-Step
TL;DR: To create stunning porcelain home decor, master the techniques of hand-painting and glazing on bisque-fired blanks. This guide provides essential steps for selecting materials, preparing surfaces, and applying finishes to achieve a professional, elegant result for your living space.
Porcelain is renowned for its strength, translucency, and refined aesthetic, making it an ideal medium for high-end home decor. Unlike stoneware or earthenware, porcelain allows for intricate detailing and vibrant colors that do not wash out under high-temperature firing. Whether you are an experienced ceramicist or a dedicated beginner, understanding the specific properties of porcelain is crucial for creating durable and beautiful pieces. This tutorial focuses on transforming raw porcelain blanks into exquisite decorative items such as vases, plates, and sculptural accents.
If you want to dig deeper, check out our guide on Elevate Your Space: Top 10 Porcelain Home Decor Ideas.
Gathering Your Materials
Before beginning, ensure you have the correct supplies. You will need high-quality porcelain blanks, such as unglazed vases or plates. These should be bisque-fired, meaning they have been fired once but are not yet glazed. Select underglazes in your desired color palette, as these are designed to be applied before the final glaze. You will also need a clear gloss or matte glaze for the final coat. Essential tools include fine-tip brushes for detail work, broader flat brushes for background areas, and a dip bucket for applying the clear glaze. Additionally, prepare a well-ventilated workspace and wear a mask to avoid inhaling any dry powder dust from the underglazes.
Step 1: Preparation and Cleaning
The foundation of a beautiful porcelain piece is a flawless surface. Gently wipe your bisque-fired blank with a damp cloth to remove any dust or fingerprints. It is critical that the surface is completely dry before applying any pigments. If there are any visible cracks or defects, assess whether they are structural or superficial. Porcelain is very thin and fragile, so handle your blanks with extreme care to prevent breakage during this preparation phase. A clean, dry surface ensures that the underglaze adheres properly and cures evenly, preventing peeling or uneven color distribution later in the process.
Step 2: Applying Underglaze
Begin by sketching your design lightly with a graphite pencil if needed, though many artists prefer freehand application. Start with the background color, applying the underglaze in thin, even layers. Porcelain absorbs pigment differently than other clays, so build up color gradually rather than applying a thick coat in one go. Allow each layer to dry completely before adding the next. Once the background is complete, move to your detailed elements. Use fine brushes to add intricate patterns, floral motifs, or geometric shapes. This is where the translucency of porcelain shines, as the white base can enhance the brightness of your colors. Be mindful of overlapping colors, as they can blend when fired, so plan your color interactions carefully.
Step 3: Glazing and Firing
After the underglaze is fully dry, it is time to apply the clear glaze. This step protects the artwork and gives the piece its characteristic shine or matte finish. You can dip the piece into a bucket of glaze or brush it on by hand. Dipping usually provides a more uniform thickness, while brushing allows for more control over specific areas. Ensure the glaze covers all painted areas evenly, but avoid pooling in corners, which can lead to defects. Once glazed, place your piece in the kiln. The firing schedule for porcelain typically reaches high temperatures, around 2300 degrees Fahrenheit. This high heat vitrifies the clay, making it waterproof and extremely durable. Do not open the kiln until it has cooled completely to prevent thermal shock.
Pro Tips for Success
One common mistake is rushing the drying process. Always ensure underglaze is bone-dry before glazing to prevent cracking. Another tip is to test fire small tiles with your chosen underglazes and glazes first to see how the colors react under heat. Por
Leave a Reply