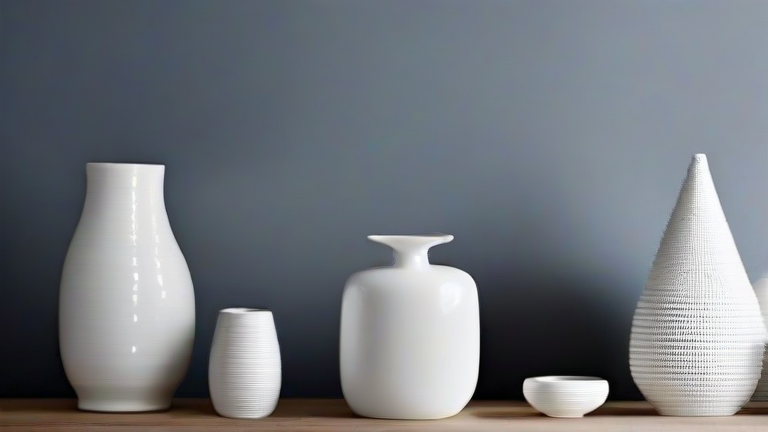
TL;DR: You can transform plain porcelain pieces into stunning home decor with five simple DIY techniques: dip-dyeing, gold leafing, decoupage, stenciling, and etching. Each method uses basic craft supplies and takes under an hour of active work.
Porcelain Home Decor Tutorial: 5 Easy DIY Ideas
Idea 1: Ombré Dip-Dye Vases
Start with a white porcelain vase and a bowl of liquid ceramic stain (or watered-down acrylic enamel). Hold the vase upside down and dip the bottom third into the color for 10 seconds. Lift, let drip for 5 seconds, then dip again to the halfway point. Repeat once more to the two-thirds mark. Let dry upside-down on a paper towel for 24 hours. Tip: Use a hairdryer on low heat to speed drying between dips—this prevents muddy color blending.
If you want to dig deeper, check out our guide on Elevate Your Home with Timeless Porcelain Decor.
Idea 2: Gold Leaf Accent Dishes
Clean a porcelain trinket dish with rubbing alcohol. Apply a thin layer of gold size (adhesive) with a foam brush only to the rim or a small geometric corner. Wait 15 minutes until tacky. Gently press a sheet of gold leaf over the area, then brush away the excess with a soft, dry makeup brush. Seal with a spray-on clear acrylic sealer. Tip: Work in a draft-free room—gold leaf is feather-light and flies away easily.
Idea 3: Decoupage Napkin Plates
Remove the top printed ply from a decorative paper napkin. Cut out a motif (flowers, birds) and place it face-up on a plain porcelain plate. Brush a 1:1 mix of white glue and water over the napkin, starting from the center outward. Smooth wrinkles with your finger. Let dry for 2 hours, then apply a second coat. Tip: Use a sponge brush instead of a bristle brush to avoid tearing the wet paper.
Idea 4: Stenciled Mug Set
Tape a self-adhesive stencil (e.g., a star or monogram) to a porcelain mug. Use a stencil brush with a nearly dry dab of porcelain paint. Pounce straight up and down—never swipe—to prevent bleeding under the edges. Remove the stencil while the paint is still wet. Cure by baking the mug in a cool oven at 300°F for 30 minutes, then let cool inside. Tip: Wash the mug by hand only; dishwasher heat can dull the paint.
Idea 5: Etched Glass-Finish Porcelain Tiles
For a tile coaster set, apply contact paper cutouts (like leaves) onto glazed porcelain tiles. Brush on glass-etching cream in a thick, even layer. Leave for 5 minutes, then rinse under warm water. Peel off the contact paper to reveal frosted patterns. Tip: Wear gloves and work in a ventilated area—etching cream contains hydrofluoric acid.
FAQ
Q: Can I use these techniques on porcelain that will hold food?
A: No—dip-dye, gold leaf, decoupage, and etching are decorative only. For mugs or plates that touch food, use only food-safe porcelain paint and bake as directed, or keep them as display pieces.
Q: How do I fix a mistake like smeared paint or torn napkin?
A: For wet paint, wipe off immediately with a damp cotton swab. For dried decoupage, soak the area with warm water for 10 minutes, then gently peel the napkin off and reapply. For gold leaf, remove the excess with painter’s tape pressed lightly.
Q: What if I don’t have a kiln—will these DIY finishes last?
A: Yes, but durability varies. Air-dry porcelain paints
Leave a Reply