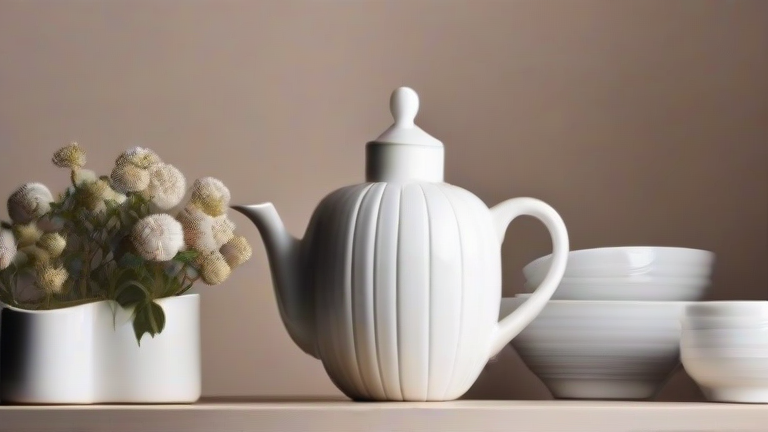
TL;DR: Transform plain porcelain pieces into designer decor with five simple techniques using paint, tape, gold leaf, and decoupage. You only need basic craft supplies and 30 minutes per project to achieve a high-end, custom look.
Porcelain Home Decor Tutorial: 5 Easy DIY Ideas
Idea 1: Dip-Dyed Porcelain Vases
Use a ceramic-safe paint (like enamel or acrylic with a sealer). Fill a bucket with water and add a few drops of paint; stir to create a marbled swirl. Dip your plain white porcelain vase vertically into the mixture, hold for 5 seconds, then slowly lift. Let it drip dry on a wire rack. Tip: For a clean line, wrap the top half in painter’s tape before dipping. Cure in a cool oven (200°F) for 30 minutes to set the finish.
If you want to dig deeper, check out our guide on Why the Apple Vision Pro Is the Next Big Leap in VR.
Idea 2: Geometric Tape Accents on Porcelain Bowls
Clean the bowl with rubbing alcohol. Apply thin strips of washi or painter’s tape in a chevron or triangle pattern. Using a small sponge brush, dab ceramic paint over the exposed areas—do not brush, or you’ll get streaks. Wait 15 minutes, peel the tape slowly while the paint is still tacky. Let dry for 24 hours, then spray with a clear matte varnish.
Idea 3: Gold Leaf Rim on Porcelain Plates
Use adhesive size (available at craft stores) and a fine-tip brush. Paint a ¼-inch border around the plate’s rim. Wait until the size becomes tacky (about 10 minutes). Press a sheet of gold leaf over it, rubbing gently with a soft brush. Brush away excess flakes. Seal with a thin layer of clear gloss. Tip: Work in a dust-free room, and always use tweezers for precise placement.
Idea 4: Decoupage Porcelain Teacups with Floral Napkins
Separate a patterned napkin into a single-ply layer. Cut out small flowers. Brush mod podge onto the teacup’s exterior, place the napkin cutout, then smooth out air bubbles with your finger. Apply a second coat of mod podge over the top. Let dry for 2 hours, then bake at 250°F for 20 minutes to make it dishwasher-safe (top rack only).
Idea 5: Stenciled Porcelain Candle Holders
Hold a reusable stencil against the porcelain surface. Use a stencil brush and a dry, pouncing motion (up and down) with ceramic paint. Do three thin layers instead of one thick layer—this prevents bleeding under the stencil. Remove the stencil while the paint is still damp. Cure according to paint instructions, then buff with a soft cloth for a subtle sheen.
Pro Tips for All Projects: Always wash porcelain with mild soap and let dry completely before starting. Use a primer specifically for glazed surfaces if your paint isn’t labeled “no-primer.” For durability, avoid sudden temperature changes—never place freshly painted pieces in a microwave or freezer.
FAQ
Q: Can I use regular acrylic paint on porcelain?
A: Yes, but you must seal it with a clear, heat-resistant varnish and avoid washing it in a dishwasher, as regular acrylic will chip over time.
Q: Do I need to sand the porcelain before painting?
A: No, sanding is only needed for unglazed bisque. For glazed porcelain, simply wipe with rubbing alcohol to remove oils, then apply a bonding primer.
Q: How long do these DIY finishes last on everyday-use items?
A: With proper curing (baking or air-drying for 72 hours) and top-coat sealing, gold leaf and dip-dye finishes can last 1–2 years on decorative pieces; hand-washing extends the life of st
Leave a Reply