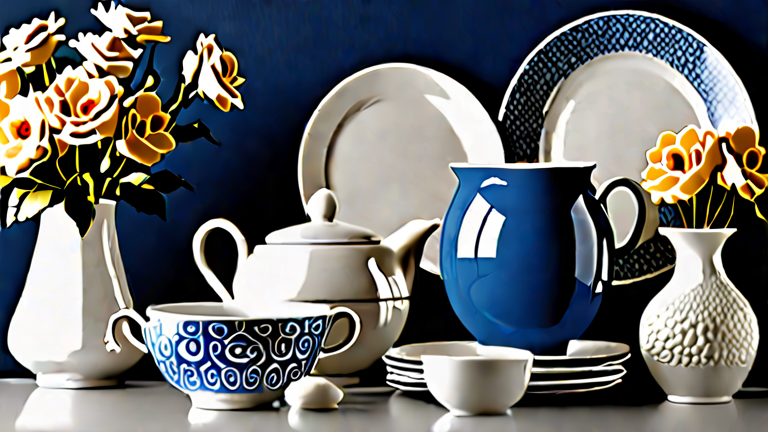
TL;DR: Choose porcelain pieces that match your room’s lighting and traffic, then anchor them with a mix of heights and textures. Clean gently with mild soap and avoid stacking heavy items to preserve glaze and prevent chips.
Step 1: Select Your Porcelain Types by Room Function
Porcelain is vitrified ceramic—denser and less porous than stoneware. For living rooms, use decorative vases, sculptural bowls, or wall plaques. For kitchens, choose practical items like trivets, canisters, or serving platters. In bathrooms, stick to soap dishes and toothbrush holders with a matte or satin finish (glossy can become slippery when wet). Avoid thin-walled porcelain in high-traffic hallways—one knock can shatter it. Instead, use solid, footed pieces there.
If you want to dig deeper, check out our guide on Porcelain Home Decor Tutorial: Easy DIY Ideas & Styling Tips.
Step 2: Build a Focal Point with the “Rule of Three”
Group three porcelain objects of varying heights—e.g., a tall ginger jar, a medium lidded urn, and a low round dish. Place them on a console table, mantel, or shelf. Keep the tallest piece at the back or center, then stagger the others diagonally. Do not line them up symmetrically; an asymmetric triangle looks more curated. For a modern look, limit to two colors: white/cream and one accent like cobalt blue or celadon green.
Step 3: Mix Porcelain with Natural Textures
Porcelain can feel cold or formal alone. Pair it with warm wood, linen, rattan, or dried botanicals. For example, set a porcelain orchid planter on a teak stand, or place a porcelain fruit bowl next to a woven jute runner. Avoid pairing porcelain with glass or mirrored surfaces—both reflect light and create visual noise. Instead, use matte backgrounds like painted drywall or raw oak.
Step 4: Handle and Place with Care
Always lift porcelain with two hands—one under the base, one supporting the body. Never drag pieces across shelves. Use felt pads under feet or rims to prevent scratching surfaces. When placing on a mantel, keep at least 2 inches from the edge. For floor vases, add a small sandbag or weight inside the base to prevent tipping, but wrap the weight in a cloth bag to avoid scratching the interior glaze.
Step 5: Clean and Maintain the Glaze
Dust weekly with a soft, dry microfiber cloth. For sticky residue, use lukewarm water and a drop of mild dish soap—never abrasive scrubbers or bleach. Rinse immediately and dry with a lint-free towel. For stubborn tea or coffee stains in mugs, create a paste of baking soda and water, apply gently, then rinse. Do not put fine porcelain in the dishwasher; heat and detergent can craze the glaze. If a chip occurs, repair with clear two-part epoxy, but hide the chip on the underside if possible.
Step 6: Rotate Seasonal Displays
Porcelain is durable but benefits from rotation. Every season, swap out one or two pieces—e.g., winter blue-and-white vases for spring pastel bud vases. This prevents sun fading (especially on hand-painted items) and keeps your decor feeling fresh. Store off-season pieces in acid-free tissue paper inside sturdy boxes, never stacked directly on top of each other.
FAQ
Q: Can I use porcelain decor outdoors on a patio?
A: Only if the porcelain is specifically rated “outdoor” or “frost-proof.” Standard porcelain can absorb water and crack in freezing temperatures. Otherwise, keep it indoors or under a covered porch.
Q: How do I tell if a piece is genuine porcelain versus ceramic?
A: Hold it to light—porcelain is translucent at thin edges. Also, tap it gently; porcelain rings with a clear, bell-like tone, while ceramic sounds duller. Check the base: unglazed porcelain feels smooth and slightly glassy.
Leave a Reply