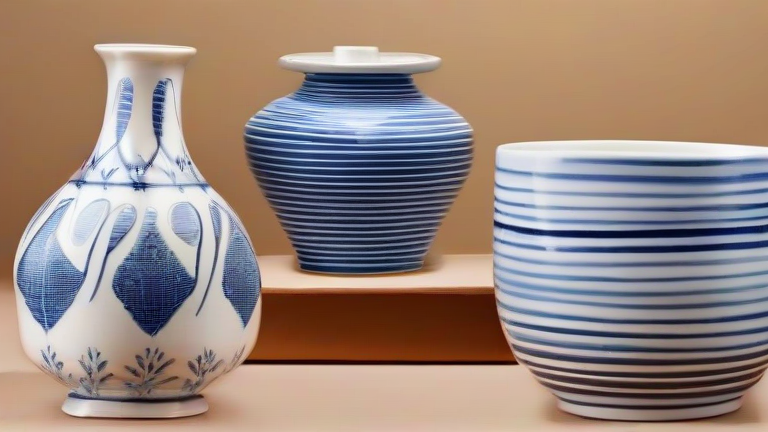
TL;DR: You can create stunning porcelain home decor at home using air-dry or oven-bake porcelain clay, paint, and simple tools—no kiln required. These seven beginner tutorials cover everything from minimal vases to textured coasters, each finished in under two hours of active work.
1. Minimalist Dipped Vases
Step 1: Roll out air-dry porcelain clay to ¼-inch thickness. Cut a rectangle (4×6 inches) and wrap it around a small glass jar, pressing the seam with a wet finger. Step 2: Smooth the surface with a damp sponge, then let dry for 24 hours. Step 3: Once hard, sand lightly and dip the bottom half into a bowl of pastel ceramic paint. Let it dry upside down on a wire rack. Tip: Use painter’s tape to create a crisp dipping line.
If you want to dig deeper, check out our guide on How to Style Your Home: 10 Porcelain Decor Tutorial.
2. Textured Coasters (Set of 4)
Step 1: Roll clay to ⅛-inch thick. Cut four 4-inch circles using a cookie cutter. Step 2: Press a lace doily or a textured leaf onto each circle to imprint a pattern. Step 3: Let dry, then apply a clear gloss sealant. Tip: For a matte finish, use a wax-based sealant instead of gloss.
3. Hanging Wall Planters
Step 1: Shape a small, hollow sphere from clay (pinch-pot method). Step 2: Cut a 1-inch hole at the top and two small side holes for rope. Step 3: After drying, thread a braided cotton rope through the side holes. Tip: Add a terracotta liner inside to keep the porcelain dry when watering.
4. Hand-Painted Catch-All Tray
Step 1: Flatten clay into a 5-inch oval, then pinch up the edges to form a shallow bowl. Step 2: Dry, then use underglaze pens to draw simple geometric lines or dots. Step 3: Fire or seal with a food-safe glaze if you plan to hold rings or keys. Tip: Practice your design on paper first—underglaze is forgiving but hard to erase.
5. Knob & Pull Upgrades
Step 1: Roll small balls of clay (1-inch diameter). Step 2: Press a metal screw insert into the center while still wet. Step 3: Dry, then paint with metallic ceramic paint. Tip: Use two coats for an even finish; let each dry fully.
6. Incense Stick Holder
Step 1: Shape a small, flat square (2×2 inches) with a raised central mound. Step 2: Push a thin wooden stick into the mound to create a hole, then remove it. Step 3: Dry, then add a shallow dish underneath to catch ash. Tip: Make the hole slightly wider than the incense stick to avoid cracking.
7. Marbled Serving Board
Step 1: Roll out two colors of clay (white and light gray) into thin sheets. Step 2: Stack them, then fold and twist once to create a marbled effect. Step 3: Roll flat to ¼-inch, cut into a rectangle, and dry. Tip: Seal with a food-safe varnish; do not use for cutting, only serving.
FAQ
<
Leave a Reply