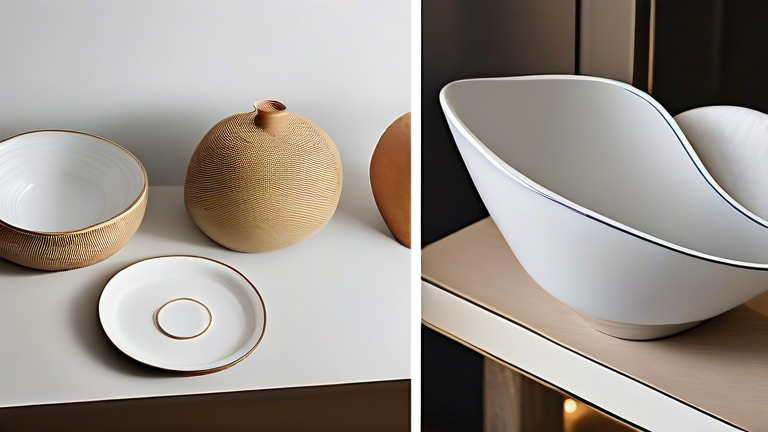
Porcelain Home Decor: 10 DIY Tutorials for Elegant Style
TL;DR: Transform your living space with ten accessible porcelain DIY projects that blend classic elegance with modern personalization. These tutorials guide you through painting, decoupage, and repurposing techniques to create stunning, unique home accents without professional studio equipment.
Introduction to Porcelain Crafting
Porcelain offers a unique canvas for home decor enthusiasts, providing a smooth, non-porous surface that accepts paint and glazes beautifully. Unlike ceramic clay, finished porcelain pieces are durable and water-resistant, making them ideal for functional decor. This guide outlines ten distinct projects, ranging from simple accent pieces to complex room transformations. Each project requires minimal tools, primarily fine brushes, acrylic paints, and a clear sealant. Start with basic shapes like plates or vases to build confidence before tackling intricate designs. The key to success lies in patience and attention to detail, ensuring every stroke contributes to an elegant final look.
If you want to dig deeper, check out our guide on Porcelain Home Decor: 7 Health Benefits of Toxic-Free Living.
Painted Vase Basics
Begin by washing the porcelain vase thoroughly with mild soap to remove any oils or dust. Once dry, apply a thin coat of gesso primer to help the paint adhere better. Allow the primer to dry completely for at least twenty-four hours. Use fine-tipped brushes to apply thin layers of acrylic paint, building up color gradually rather than applying thick coats. This technique prevents cracking and ensures a smooth finish. For an elegant style, consider monochromatic schemes or subtle geometric patterns. Seal the finished vase with a matte spray sealant to protect the artwork from dust and minor scratches.
Decoupage Plate Centerpieces
Decoupage is an excellent way to personalize dining ware with floral or vintage imagery. Cut out desired images from high-quality paper, ensuring they are slightly larger than your plate design area. Apply a thin layer of water-based decoupage glue to the back of the paper and press it onto the porcelain. Smooth out air bubbles using a soft cloth or a squeegee. Once the paper adheres, apply multiple coats of glue over the top, allowing each layer to dry. This creates a durable, glossy finish that looks like the image was printed directly onto the plate. Finish with a food-safe clear glaze if the plate is intended for use, though decorative only is recommended for safety.
Gold Leaf Accents
Add instant luxury to plain white porcelain using gold leaf flakes. Prepare the surface by applying a specialized gold leaf adhesive in the pattern you desire, such as borders or center motifs. Let the adhesive become tacky, which usually takes about ten minutes. Gently lay the gold leaf flakes onto the tacky areas using a soft brush or your fingertips. Burnish the leaf lightly with a cotton swab to ensure full adhesion. Remove excess flakes with a brush, being careful not to disturb the applied areas. The metallic finish adds a sophisticated touch to candle holders, small plates, or decorative bowls. This technique is forgiving, as small gaps can be filled with additional leaf later.
Stenciled Dinner Sets
Create a cohesive dining set by using stencils on a series of matching plates. Choose a stencil design that complements your home decor style, such as damask, botanical, or abstract lines. Mask off areas you do not want to paint using painter’s tape. Apply paint with a sponge brush, dabbing rather than dragging to avoid bleeding under the stencil. Remove the tape carefully while the paint is still slightly wet to prevent peeling. Repeat the process for each plate to maintain consistency. The uniformity of the set creates a professional look that elevates your dining experience significantly.
Marbled Glassware
Achieve a marble effect on clear or frosted porcelain glassware using liquid marble techniques. Drop small amounts of different colored acrylic paints onto a tray of water. Use a toothpick to swirl the colors together, creating unique marble patterns. Submerge the glassware into the water, allowing the paint to adhere to the surface. Lift the glassware slowly and rinse under cool water to remove excess paint. The result is a stunning, organic
Leave a Reply