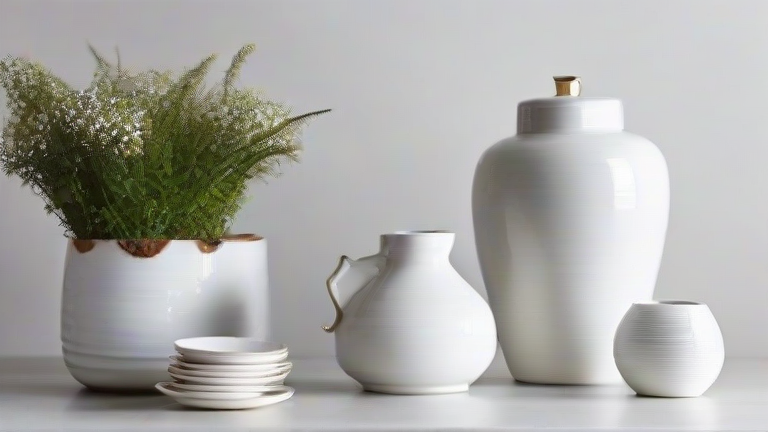
Porcelain Home Decor: 10 DIY Tutorials for Elegant Living
TL;DR: Transform your space with ten elegant porcelain DIY projects that blend traditional craftsmanship with modern aesthetics. Use high-quality materials and precise techniques to create durable, sophisticated decor pieces that elevate any room.
Porcelain is a timeless material that adds a touch of refinement to any home. Its smooth finish and durability make it ideal for various decorative applications. However, working with porcelain requires patience and the right tools. This guide outlines ten distinct projects, ranging from simple painting techniques to complex sculptural elements. Each project is designed to be accessible to beginners while offering enough complexity to satisfy seasoned crafters. By following these steps, you can create unique pieces that reflect your personal style. Remember that safety is paramount when handling ceramics. Always wear gloves and work in a well-ventilated area to avoid inhaling dust or fumes. Start with basic projects to build your confidence before moving on to more intricate designs.
If you want to dig deeper, check out our guide on Healthy Homes: Porcelain Decor for Air Quality.
Project 1: Hand-Painted Vase Set
Begin by selecting plain white porcelain vases of varying heights. Wash them thoroughly with soapy water and let them dry completely. Use fine-tip brushes and porcelain-safe paint to create floral or geometric patterns. Apply thin coats to prevent cracking as the paint dries. Once the design is complete, seal the vases with a clear porcelain glaze. Bake according to the glaze manufacturer’s instructions. This set adds a cohesive look to shelves or entryways.
Project 2: Geometric Wall Plates
Choose flat porcelain plates with a clean white background. Use painter’s tape to create bold geometric shapes such as triangles or hexagons. Apply metallic leaf or acrylic paint to the taped areas. Remove the tape carefully while the paint is still slightly tacky for sharp edges. Hang these plates in a cluster for a modern focal point. Ensure the hanging hardware is secure to prevent accidents.
Project 3: Engraved Candle Holders
Select sturdy porcelain candle holders. Use a ceramic engraving tool to etch intricate patterns into the surface. Keep the pressure light to avoid breaking the delicate material. Fill the etched lines with gold or silver paint for contrast. Allow the paint to dry fully before placing candles inside. This project adds a luxurious touch to dining tables or sideboards.
Project 4: Mosaic Mirror Frame
Break small porcelain plates into irregular shards, wearing safety goggles. Sort the pieces by color and size. Adhere them to a wooden or metal mirror frame using epoxy glue. Press each piece firmly to ensure a secure bond. Once dry, fill the gaps with grout to create a seamless look. Wipe away excess grout with a damp cloth. This frame adds texture and color to bathroom or living room mirrors.
Project 5: Custom Coasters
Use small porcelain discs as the base for your coasters. Paint them with abstract designs or solid colors. Apply a clear sealant to protect the surface from moisture. Arrange them in sets of four or six. These coasters are functional and decorative, perfect for entertaining guests.
Project 6: Sculptural Centerpieces
Combine various porcelain pieces such as bowls, cups, and saucers. Stack them creatively to form a tower-like structure. Secure the pieces with strong adhesive. Paint the entire structure with a uniform color for a cohesive look. Place this centerpiece on a dining table for a striking visual impact.
Project 7: Painted Picture Frames
Break porcelain plates into small, manageable pieces. Glue these pieces onto the edges of standard picture frames. Paint the background of the frames with a complementary color. Allow the glue to dry completely before hanging. These frames add a vintage charm to family photos or artwork.
Project 8: Decorative Bowls
Take plain porcelain bowls and apply a base coat of paint. Use stencils to create repetitive patterns around the rim. Add details with a fine brush. Seal
Leave a Reply