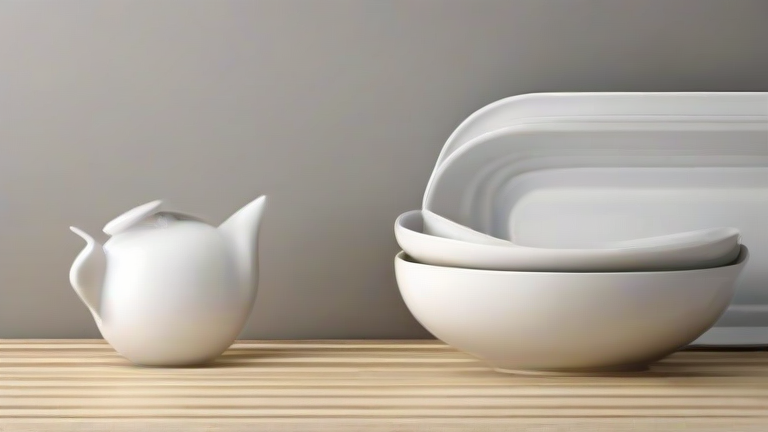
TL;DR: Transforming your home with porcelain decor involves selecting high-quality blanks or existing pieces, applying heat-resistant paints, and meticulously firing them in a kiln. Success requires patience, precise temperature control, and a steady hand to ensure durable, elegant results that elevate your interior design aesthetic.
Why Choose Porcelain for Home Decor?
Porcelain is prized for its durability, translucency, and elegant finish. Unlike standard ceramic, porcelain undergoes a higher firing process, resulting in a non-porous, glass-like surface that is resistant to staining and wear. This makes it an ideal medium for vases, plates, and sculptural pieces that will last for generations. Its smooth texture allows for vibrant glazing effects, enabling you to create everything from minimalist modern accents to intricate traditional motifs. By mastering porcelain DIY, you gain control over the color palette and form, ensuring that every piece perfectly complements your unique home decor style.
If you want to dig deeper, check out our guide on Top 10 Porcelain Home Decor Ideas to Elevate Your Interior.
Gathering the Right Tools and Materials
Before you begin, ensure you have the necessary equipment. You will need white porcelain clay or pre-made porcelain blanks, which are thinner and stronger than standard earthenware. Select high-quality underglazes or porcelain-specific acrylic paints that can withstand high heat. Essential tools include a set of sculpting knives, rib tools for smoothing, and a wire for cutting. If you are glazing, you will need a dipping jar and a heat-resistant brush. Crucially, you must have access to a kiln capable of reaching cone 10 temperatures. If you do not have a kiln, consider using low-fire porcelain or commissioning the firing at a local pottery studio. Always wear a dust mask when handling dry clay or glaze powders to protect your respiratory health.
Step-by-Step Creation Process
Start by preparing your porcelain clay. Knead it thoroughly to remove air bubbles, which can cause explosions during firing. If using pre-made blanks, ensure they are completely dry to the touch. Sketch your design lightly with a pencil. For sculpting, use your tools to carve or add details, working from the center outward. Porcelain is unforgiving, so make small, incremental movements. Once your form is set, allow it to bone dry for at least two weeks. This slow drying process prevents cracking. After drying, apply your first coat of underglaze. Let it dry completely before adding a second coat if necessary. Avoid overlapping wet glaze, as this can cause runs and imperfections.
Firing and Finishing Techniques
Load your pieces into the kiln with adequate spacing to prevent them from sticking together. Use kiln posts to separate shelves. Begin the firing cycle, slowly ramping up the temperature to ensure even heating. Monitor the kiln closely during the critical stages of bisque firing and glaze firing. Once the firing is complete, allow the kiln to cool to room temperature before opening the door. This prevents thermal shock, which can shatter your work. Inspect your finished pieces for any defects. If successful, clean them gently with a soft cloth. Apply a food-safe sealant if the item will be used for dining, though most porcelain glazes are already safe. Display your creations in well-lit areas to highlight their glossy finish and intricate details.
FAQ
Q: Can I fire porcelain at home without a professional kiln?
A: No, standard ovens cannot reach the necessary temperatures for true porcelain firing. You must use a specialized electric or gas kiln to achieve the required heat levels for proper vitrification and durability.
Q: What is the difference between porcelain and ceramic clay?
A: Porcelain clay is finer, denser, and fired at higher temperatures than standard ceramic clay. This results in a stronger, whiter, and more translucent material that is less porous and more resistant to chipping.
Q: How do I prevent cracks in my porcelain pieces?
A: Ensure your clay is wedged well to remove air bubbles and dry slowly and evenly. Avoid rapid temperature changes during the firing
Leave a Reply