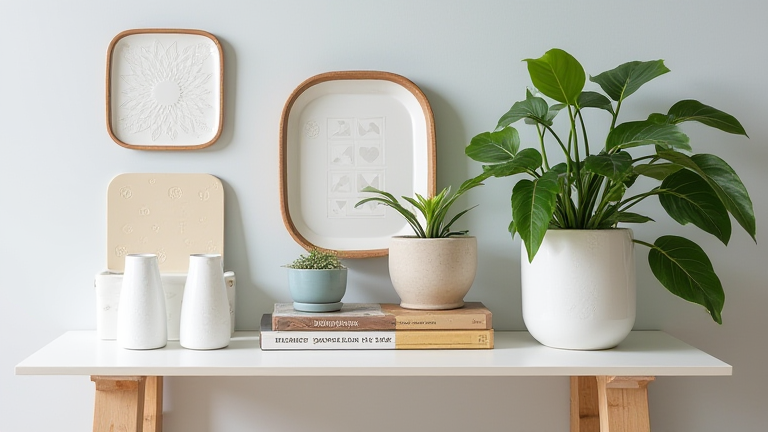
TL;DR: This guide outlines ten manageable DIY projects to transform raw or vintage porcelain into stunning home accents. By following these step-by-step instructions, you can easily upcycle plates, vases, and tiles into personalized decor pieces.
1. Painted Porcelain Plate Wall Art
Start by washing old dinner plates to remove grease. Sand the surface lightly to help paint adhere. Use acrylic paint designed for ceramics to create patterns or solid colors. Finish with a clear sealant spray to protect the design and ensure longevity. Hang them using adhesive hooks to create a cohesive gallery wall.
If you want to dig deeper, check out our guide on Why the Rise of AI-Powered Headphones Is Redefining Personal.
2. Mosaic Porcelain Tile Coasters
Break unneeded porcelain tiles into small, uniform shards. Arrange them on a glass or wooden base using strong adhesive. Once dry, fill the gaps with grout for a professional look. Wipe away excess grout immediately and let it cure fully. These coasters add texture and color to your dining table.
3. Vintage Vase Decoupage
Choose a plain white porcelain vase. Cut out desired images from paper or fabric. Apply a thin layer of Mod Podge to the vase surface. Smooth the cutouts onto the vase, working from the center out to avoid bubbles. Apply multiple layers of sealer for durability and a glossy finish.
4. Porcelain Shard Candle Holders
Collect safe, sharp-free porcelain shards from broken items. Melt them slightly in a kiln or use hot glue for a rustic look. Arrange the shards around a candle holder base. Secure them firmly with heat-resistant adhesive. This creates a unique, artistic centerpiece for your living room.
5. Stenciled Porcelain Teacups
Ensure teacups are clean and dry. Position a stencil on the exterior surface. Use a sponge brush to apply ceramic paint in thin layers. Peel the stencil carefully before the paint dries completely. Cure the cups in an oven according to paint instructions to make them dishwasher safe.
6. Porcelain Tile Picture Frames
Take a plain wooden frame and remove the backing. Glue a small porcelain tile to the front face of the frame. Decorate the tile with paint or stickers. Reattach the backing and insert a photo. This simple project adds a pop of elegance to your photo display.
7. Beaded Porcelain Vases
Thread beads onto a long piece of floral wire. Wrap the wire around the neck of a narrow porcelain vase. Secure the end with a small knot. Trim excess wire and tuck it inside the vase. This adds a bohemian touch to simple floral arrangements.
8. Porcelain Tile Trivets
Arrange four small porcelain tiles in a square pattern. Use epoxy glue to bond them together tightly. Add a metal ring or handle for easy lifting. Let the epoxy cure for 24 hours. Use this trivet to protect your table from hot dishes.
9. Porcelain Plate Serving Boards
Glue a large, broken plate shard to the back of a wooden cutting board. Ensure the surface is level and smooth. Apply food-safe epoxy over the porcelain shard. Sand any rough edges carefully. This creates a functional and beautiful serving surface.
10. Porcelain Tile Key Holder
Mount a small porcelain tile to a piece of wood. Drill small holes in the tile for hooks. Screw decorative hooks into the holes. Mount the assembly on your entryway wall. This keeps your keys organized and visible.
Tips for Success
Always test your adhesive on a small area first. Use gloves when handling sharp porcelain shards. Ensure all surfaces are completely dry before applying paint or glue. Work in a well-ventilated area when using sprays or strong adhesives. Patience is key; allow adequate drying and curing times for each step to ensure your projects last for years.
<h2
Leave a Reply