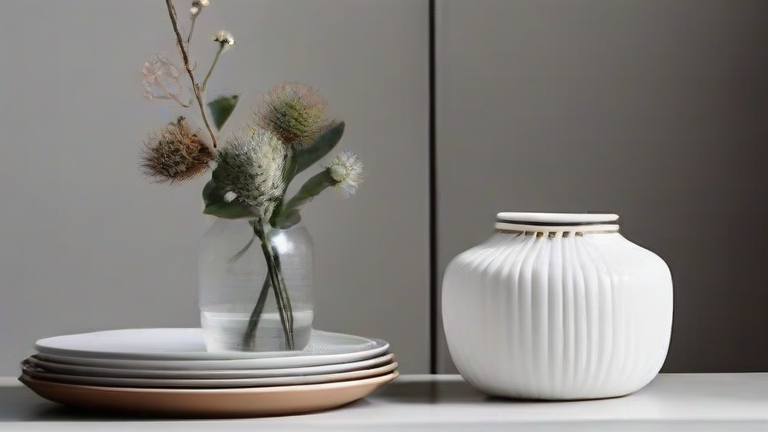
TL;DR: Transform plain porcelain blanks into designer decor using underglaze paints, stencils, and a home kiln, then style them in vignettes with texture and height. This guide covers DIY vase painting, plate decal transfers, and shelf styling for a high-end ceramic look.
Materials & Prep
Gather bisque-ware (unglazed porcelain vases, plates, or bowls), underglaze pens or brushes, clear gloss glaze, stencil tape, and a kiln (or access to a local ceramics studio). Wipe each piece with rubbing alcohol to remove dust and oils. Work on a drop cloth—porcelain is brittle and chips easily. Select a color palette of 2–3 neutrals plus one accent (e.g., matte white, dusty blue, terracotta).
If you want to dig deeper, check out our guide on Top 10 Porcelain Home Decor Trends for Modern Tech-Savvy Hom.
Step 1: Paint Your Vase
Sketch a simple geometric pattern (stripes, dots, or half-moons) lightly with a pencil. Use underglaze pens for precision—they behave like markers. Apply 2 thin coats, letting each dry for 20 minutes. Avoid thick blobs; they bubble in firing. For a watercolor effect, dilute underglaze with water and brush in soft washes. Let dry fully overnight.
Step 2: Decorate Plates with Stencils
Cut a stencil from adhesive vinyl or use pre-cut lace doilies. Press firmly onto the plate’s rim. Dab underglaze with a sponge—pat, don’t brush, to prevent bleeding. Remove stencil while still wet, then add hand-drawn dots for a delicate border. For a modern look, leave the center blank and pattern only the outer edge.
Step 3: Glaze & Fire
Once underglaze is bone-dry, brush on a clear gloss glaze in 2 thin, even layers. Apply only to the painted areas unless you want a full gloss—avoid the bottom rim to prevent kiln sticking. Fire to the cone recommended by your clay supplier (usually cone 06–04 for porcelain). Cool slowly in the kiln; opening it early causes crazing.
Step 4: Style Your Decor
Group your finished vase and plates on a shelf or mantel. Use the “rule of three”: a tall vase, a medium plate leaned against the wall, and a low bowl. Layer in natural textures—linen napkins, dried pampas grass, or a wooden tray—to soften porcelain’s gloss. Place one piece alone on a coffee table for a minimal focal point. Avoid overcrowding; let each piece breathe.
Pro Tips
Test colors on a scrap tile before your final piece—underglaze shifts after firing. Use a fine sanding sponge on bisque edges to avoid scratches. For a matte finish, skip the gloss glaze and use matte clear instead. Always handle fired pieces with clean, dry hands to avoid fingerprints.
FAQ
Q: Can I use regular acrylic paint on porcelain without a kiln?
A: Yes, but it won’t be food-safe or dishwasher-proof. Use acrylic enamel and bake at 300°F for 30 minutes for durability—still hand-wash only.
Q: How do I fix a cracked piece after firing?
A: Small cracks are permanent structurally. For decoration, glue the pieces back with epoxy, then cover the seam with a metallic glaze pen—turn the flaw into a kintsugi-style accent.
Q: Do I need a kiln at home, or can I use a community studio?
A: Community studios are ideal for beginners—they offer kiln rental and firing guidance. At-home kilns start around $600 and require proper ventilation, so evaluate your space before buying.
Leave a Reply