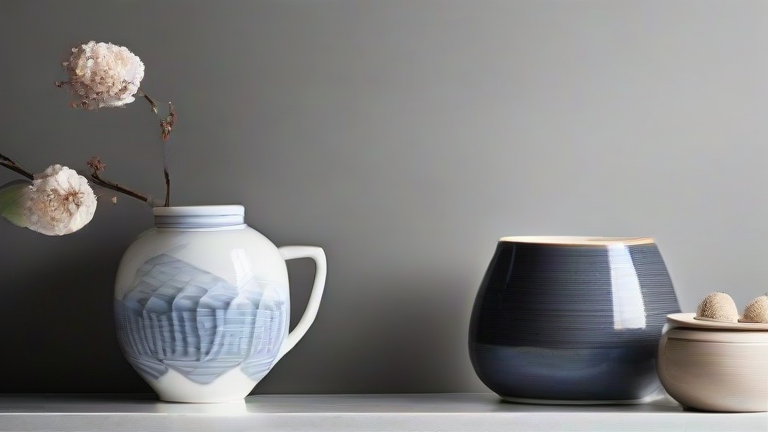
TL;DR: Style porcelain decor by mixing matte and glossy finishes in odd-numbered clusters, and create DIY pieces using blank porcelain and ceramic paints. Focus on texture contrast and negative space to avoid a cluttered, museum-like feel.
Step 1: Curate Your Porcelain Palette
Before styling, edit your collection. Porcelain works best when it feels intentional, not accidental. Group pieces by undertone—cool whites with blue/grey tints, or warm ivory with cream/beige hints. Do not mix more than two undertones per shelf or mantel. For a cohesive look, choose 3–5 hero pieces (vases, urns, or lidded jars) and 2–3 small accents (trinket dishes, bud vases, or coasters). Remove anything chipped or overly ornate unless it’s a deliberate antique statement.
If you want to dig deeper, check out our guide on 10 Best Porcelain Home Decor Ideas for Elegant Living Spaces.
Step 2: Build Asymmetrical Clusters
Place your largest porcelain piece slightly off-center, not dead middle. Add a medium-height piece (like a ginger jar) at a 60-degree angle, then a short, rounded piece (like a bowl) in front. Vary heights by using stackable books or a wooden pedestal under one piece—but never under all. Rule of thumb: odd numbers (3, 5) create visual rhythm. Leave at least 2–3 inches of empty space between each item. For a modern twist, pair one glossy white vase with a matte, unglazed planter of the same shape.
Step 3: Mix Textures and Materials
Porcelain alone can feel cold. Pair it with warm, rough, or organic elements. Set a porcelain bowl on a linen runner or a chunky wool throw. Lean a matte porcelain plate against a stack of leather-bound books. Add a single dried branch or eucalyptus sprig inside a tall vase—nothing too lush, as porcelain favors minimalism. Avoid pairing with shiny metal or glass; instead, use brushed brass or raw wood for contrast.
Step 4: DIY Porcelain Painting (Beginner)
Buy blank, unglazed porcelain (bisque) from a craft store—mugs, small vases, or tiles. Clean with rubbing alcohol and let dry. Use oil-based porcelain markers or underglaze paints (not acrylic). Sketch your design lightly with a pencil. Apply thin layers of paint; wait 15 minutes between coats. For a marbled effect, dab a sponge with two colors. Once dry, most paints require baking: place in a cold oven, heat to 300°F (150°C), bake for 35 minutes, then cool inside the oven. Do not microwave or dishwasher-safe unless the label says so.
Step 5: DIY Decoupage with Porcelain
For a no-bake option, use decoupage glue to attach thin paper napkins or gold leaf to plain porcelain vases. Cut out a pattern, apply a thin layer of Mod Podge to the porcelain, lay the paper, then seal with two more coats. Let dry for 48 hours. Finish with a matte sealant spray. This works best on smooth, glazed porcelain—clean with soap and water first, then wipe with vinegar to remove oils.
Step 6: Placement Rules by Room
Living room: group on a coffee table tray with a candle and a small stack of coasters. Bedroom: place a single small porcelain bud vase on a nightstand—no flowers needed. Bathroom: use a porcelain soap dish and toothbrush holder, but avoid overcrowding the sink. Kitchen: display a porcelain pitcher on an open shelf, not inside a cabinet. Never place porcelain near a radiator, direct sunlight (causes crazing), or in high-traffic areas where it can be knocked over.
Step 7: Care and Maintenance
Dust weekly with a soft, dry microfiber cloth. For fingerprints, wipe with a damp cloth and mild dish soap, then dry immediately. Never use abrasive scrubbers or bleach. For DIY painted
Leave a Reply