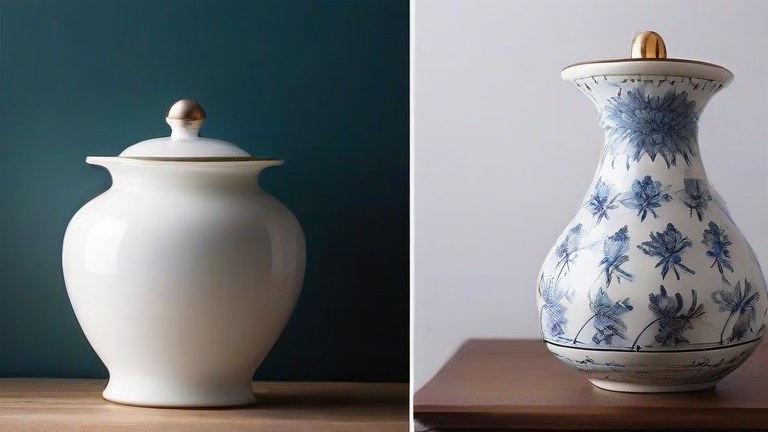
TL;DR: Transform your living space with these five accessible porcelain DIY projects that focus on upcycling and custom painting. You only need basic supplies like acrylic paints and a clear sealant to create elegant, durable decor pieces.
Porcelain Home Decor Tutorial: 5 Easy DIY Projects
Porcelain is a sophisticated material that adds a touch of elegance to any interior. While often associated with high-end retail, it is surprisingly versatile for DIY enthusiasts. Here is how you can create stunning home decor items using porcelain plates, vases, and tiles. Before starting, ensure all items are thoroughly cleaned with soap and water, and allow them to dry completely. Use a primer designed for glass and ceramics to help your paint adhere properly. This step is crucial for durability and preventing chipping over time.
If you want to dig deeper, check out our guide on Elegant Porcelain Home Decor Ideas: 10 Must-Have Pieces.
Project one involves creating a chic wall art piece from broken plates. Carefully select shards of varying colors and shapes. Arrange them into a mosaic pattern on a flat surface before applying them to a backing board using a strong, waterproof adhesive. Once dry, fill the gaps with grout for a professional look. This method turns waste into a unique, colorful statement piece that catches the light beautifully.
For the second project, try painting a simple geometric design on a plain white porcelain vase. Use painter’s tape to create crisp lines for triangles or circles. Apply thin coats of acrylic paint to avoid drips. Peel the tape immediately after painting while the paint is still wet to ensure clean edges. This creates a modern, minimalist centerpiece that fits perfectly on a dining table or console.
The third idea is to decorate a porcelain tray with a floral stencil. Place the stencil securely on the tray’s surface. Use a sponge brush to dab on your chosen colors, working from the center outward. Remove the stencil carefully to reveal the pattern. Seal the tray with a matte varnish to protect the design from moisture and daily wear.
Project four focuses on creating personalized porcelain coasters. Cut small circles from old porcelain tiles or use dedicated porcelain coaster blanks. Paint simple monograms or inspirational quotes using a fine-tip brush. Let each piece dry for at least twenty-four hours before applying a heavy-duty clear coat. These make for excellent personalized gifts or functional additions to your kitchen bar.
Finally, the fifth project involves creating a layered glass effect on a porcelain bowl. Apply layers of translucent paint in complementary shades. Allow each layer to dry completely before adding the next. This technique creates a depth illusion that resembles stained glass but with the durability of porcelain. It serves as a beautiful fruit bowl or decorative catch-all.
Always work in a well-ventilated area when using sealants. Store your finished pieces in a safe place until the sealant has fully cured, which usually takes several days. By following these steps, you can achieve professional results without expensive tools. Porcelain’s smooth surface is ideal for detailed work, making it a favorite for crafters of all skill levels. Embrace the imperfections, as they add character to your handmade treasures.
FAQ
Q: Can I microwave my painted porcelain items?
A: No, avoid microwaving painted porcelain as the heat may cause the paint to crack or release harmful fumes from the sealant.
Q: What type of paint works best on porcelain?
A: Acrylic paint is the most accessible option, but you must use a ceramic primer and a clear, food-safe or water-resistant sealant for durability.
Q: How do I clean my finished porcelain projects?
A: Use a soft, dry cloth for dusting. For deeper cleaning, use a damp cloth with mild soap, but avoid abrasive scrubbers that could scratch the paint.
Leave a Reply