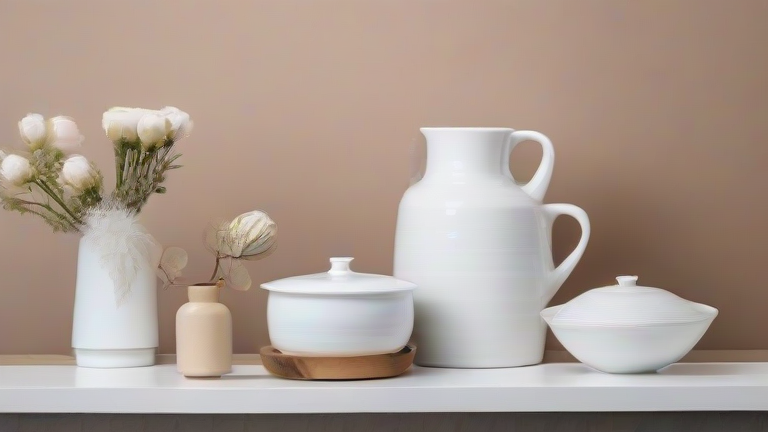
TL;DR: Transform plain porcelain pieces (vases, plates, tiles) into bespoke decor using porcelain paints, gold leaf, or decoupage, then style them with a mix of textures and negative space. This guide covers the full DIY process from prep to sealing, plus three styling rules for a high-end, gallery-like finish.
Materials & Surface Prep
Before painting, gather: isopropyl alcohol, fine-grit sandpaper (400 grit), lint-free cloth, porcelain-specific paints (e.g., Pebeo Porcelaine 150 or FolkArt Enamels), soft synthetic brushes, and a clear gloss or matte sealant. If you’re using gold leaf, add adhesive size and transfer sheets. Wash the porcelain with warm soapy water, rinse, then wipe with alcohol to remove all oils. For glossy pieces, lightly sand the entire surface—this creates “tooth” for the paint. Do NOT skip sanding; paint will bead off unsanded glaze.
If you want to dig deeper, check out our guide on Why AI Generated Product Photos Are the Next Big E-Commerce .
Step-by-Step Painting & Decoupage
Step 1: Design transfer. Sketch your pattern with a wax pencil (it wipes off easily). For geometric lines, use low-tack washi tape as a stencil.
Step 2: Apply base coats. Use a sponge brush for even coverage. Apply 2–3 thin coats, letting each dry for 30 minutes. Avoid thick globs—they bubble in the oven.
Step 3: Detail work. For fine lines, use a liner brush and steady your hand with your pinky against the piece. If you’re using decoupage, cut out paper motifs, brush a thin layer of decoupage medium onto the porcelain, press the paper flat, and smooth out air bubbles with a brayer.
Step 4: Gold leaf accent. Paint a thin line of size, wait 15 minutes until tacky, lay the gold leaf over it, press gently, then brush away excess flakes with a soft dry brush.
Step 5: Cure. Let painted pieces air dry for 24 hours, then place them on a cold oven rack. Set the oven to 300°F (150°C), bake for 35 minutes, then let the oven cool completely with the door closed—do not open it early or the paint will crack.
Step 6: Seal. After curing, apply two thin coats of clear sealant. This is essential for any piece that will touch water or get wiped down.
Styling Rules for Porcelain Decor
Rule 1: Odd numbers & varied heights. Group three porcelain vases—one tall, one squat, one fluted—on a tray. This creates rhythm without clutter.
Rule 2: Mix finishes. Pair matte, hand-painted porcelain with glossy, glazed pieces. The contrast adds depth. Avoid matching sets; look for “intentional mismatch.”
Rule 3: Negative space is the frame. Don’t fill a shelf. Leave 30–40% of the surface empty. Place your largest porcelain item off-center, then let smaller pieces orbit it. For wall decor (plates), use invisible plate hangers and hang them in a tight cluster—1–2 inches apart—for a modern twist.
Care & Longevity Tips
Hand-wash DIY porcelain only—dishwashers will erode the sealant. Use a soft sponge and mild soap. Avoid citrus or abrasive cleaners. If gold leaf chips, touch up with a tiny brush and more size. Keep pieces out of direct sunlight to prevent paint fading. For high-traffic areas (like a dining table centerpiece), apply an extra coat of sealant every 6 months.
FAQ
Q: Can I use regular acrylic paint on porcelain?
A: No—acrylics peel off glaze. You must use paints labeled “porcelain” or “glass”
Leave a Reply