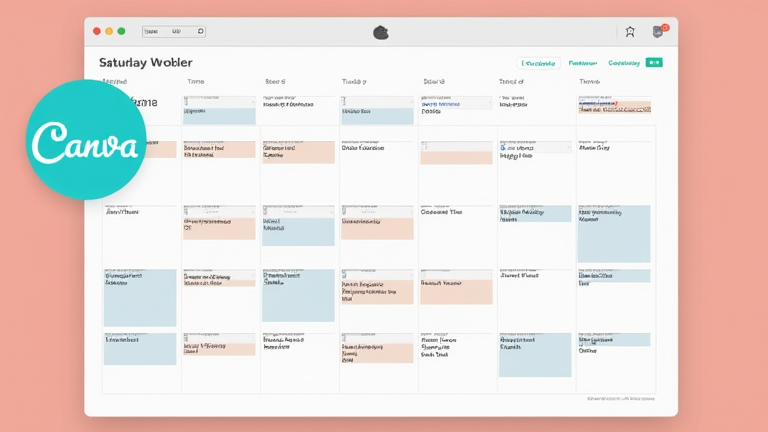
Canva Tutorial: How to Create a Professional Social Media Calendar
TL;DR: Create a professional social media calendar in Canva by selecting a grid template and customizing it with your brand’s color palette and typography. Populate the calendar with specific dates, content themes, and visual placeholders to streamline your monthly planning process.
Step 1: Select the Right Template
Begin by logging into your Canva account and navigating to the search bar. Type “social media calendar” and filter results by “Pages” to find layouts that fit your preferred aspect ratio, such as 16:9 for presentations or 1:1 for digital sharing. Look for templates that offer ample white space, as this will make your calendar easier to read and less cluttered. Avoid overly busy designs that distract from the actual dates and content notes. Choose a clean, minimalist style that reflects the elegance of your brand identity.
If you want to dig deeper, check out our guide on Elevate Your Home: Timeless Porcelain Decor Trends.
Step 2: Customize Branding Elements
Once you select a template, replace the default fonts and colors with your brand assets. Use the “Brand Kit” feature if available, or manually input your hex codes for primary and secondary colors. Consistency is key to maintaining a professional appearance across all marketing materials. Adjust the typography to ensure legibility; use bold headers for months and dates, and lighter weights for descriptive notes. This visual hierarchy helps viewers quickly locate specific information without strain.
Step 3: Structure the Calendar Grid
Divide the canvas into monthly sections if creating a multi-month overview, or focus on a single detailed month. Clearly label each day with its date. Create distinct columns for different social platforms, such as Instagram, Facebook, and Twitter. This separation allows you to tailor content strategies for each network’s unique audience. Ensure that each cell has enough space for text input. You can use the text box tool to add prompts like “Caption,” “Image Link,” or “Status” to guide future content creation.
Step 4: Add Content and Visual Cues
Populate the calendar with your planned content themes. For each date, briefly describe the post concept. If you are planning visual content, you can insert small placeholder images or icons to indicate the type of media, such as a photo, video, or carousel. Use color-coding to distinguish between different content types, such as promotional posts, educational tips, or community engagement. This visual coding makes it easy to balance your content mix at a glance.
Step 5: Review and Export
Before finalizing, zoom out to view the entire calendar. Check for alignment issues, overlapping text, or color inconsistencies. Ensure that all dates are correct and that the layout flows logically. Once satisfied, click “Share” and select “Download.” Choose PDF Standard for digital sharing or print-ready PDF if you plan to print physical copies. This file serves as your master reference for the month’s social media activities.
Tips for Success
Keep your calendar dynamic by updating it weekly. Use comments within Canva to collaborate with team members and track progress. Regularly review past calendars to identify what worked well and what needs improvement. This iterative process will refine your strategy over time.
FAQ
Q: Can I use Canva for team collaboration on a calendar?
A: Yes, you can invite team members to your Canva design to collaborate in real-time, allowing for simultaneous editing and commenting.
Q: What file format is best for printing a social media calendar?
A: Use the PDF Print format to ensure high resolution and proper color accuracy for physical printing.
Q: How often should I update my social media calendar template?
A: It is recommended to review and update your template quarterly to align with seasonal changes and new branding guidelines.
Leave a Reply